SDK Manager – System Flashing Guide
For NVIDIA Jetson Devices
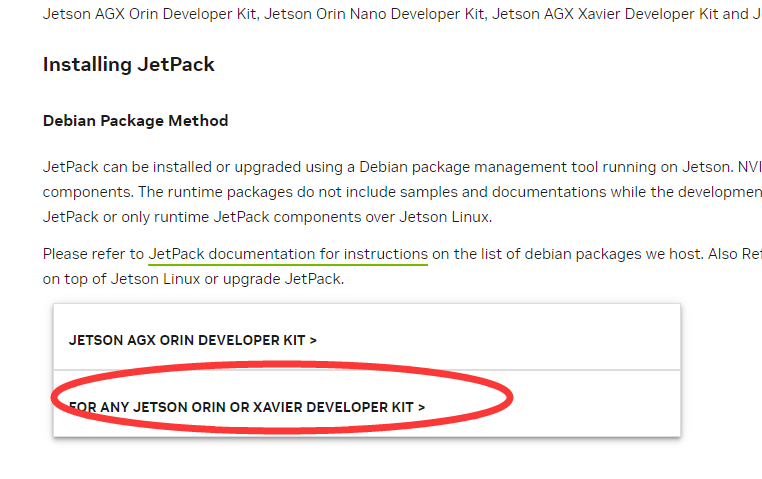
1. Download NVIDIA JetPack and SDK Manager
Open NVIDIA’s JetPack page:
https://developer.nvidia.com/embedded/jetpack
Download SDK Manager for Ubuntu (18.04 or 20.04).
You must log in with your NVIDIA Developer account.
2. Install SDK Manager
Open a terminal and go to the folder where the .deb installer was downloaded:
cd Downloads/

Install SDK Manager:
sudo dpkg -i sdkmanager_1.9.2-10889_amd64.deb
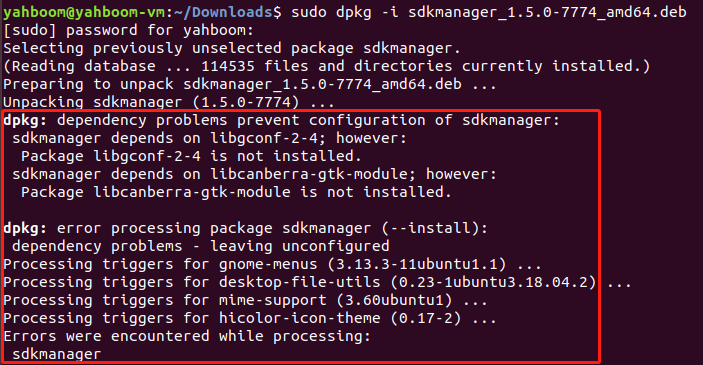
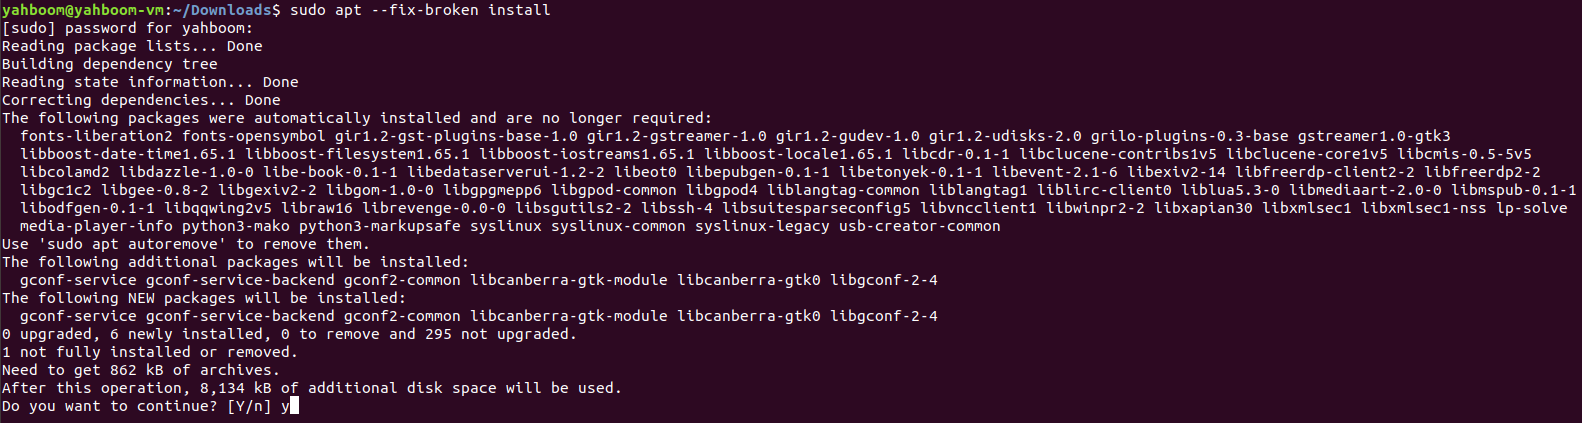
If dependencies are missing, fix them:
sudo apt --fix-broken install
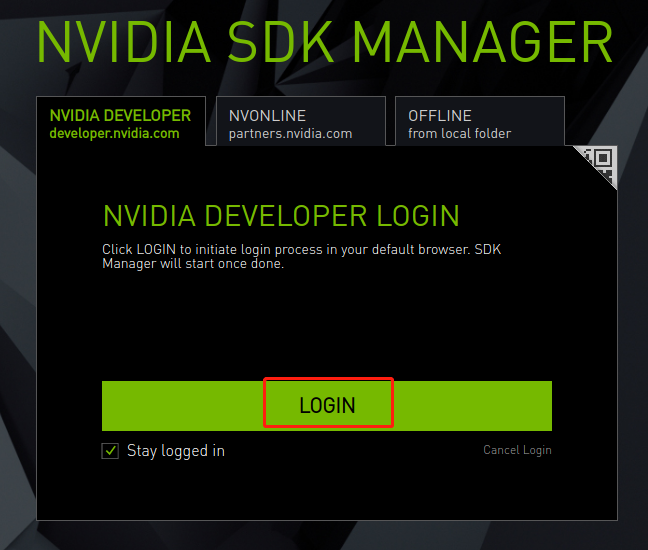
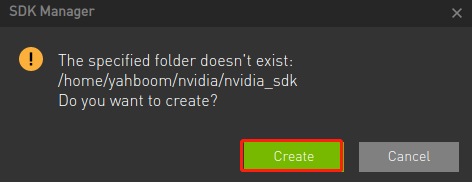
3. Launch SDK Manager
Open the Ubuntu applications menu and search for SDK Manager.
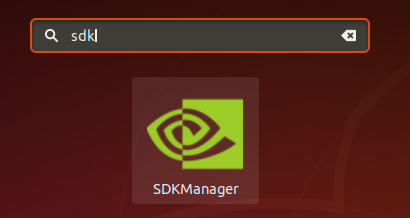
Log in using your NVIDIA account.
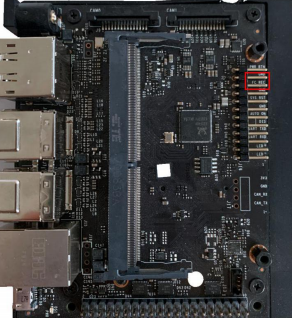
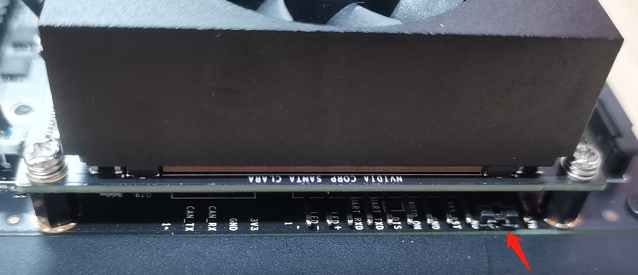
4. Put Your Jetson Orin Nano into Recovery Mode
Bridge the FC REC and GND pins using a jumper.
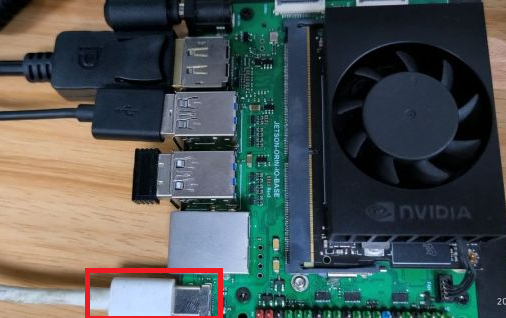
Connect HDMI, keyboard, mouse, Micro‑USB, and power.
The device will automatically enter REC mode.
5. Select Hardware and JetPack Version
Choose:
- Target Hardware → Jetson Orin Nano
- JetPack Version → e.g., 5.1.1
If not detected, ensure REC mode, USB passthrough, and click Refresh.
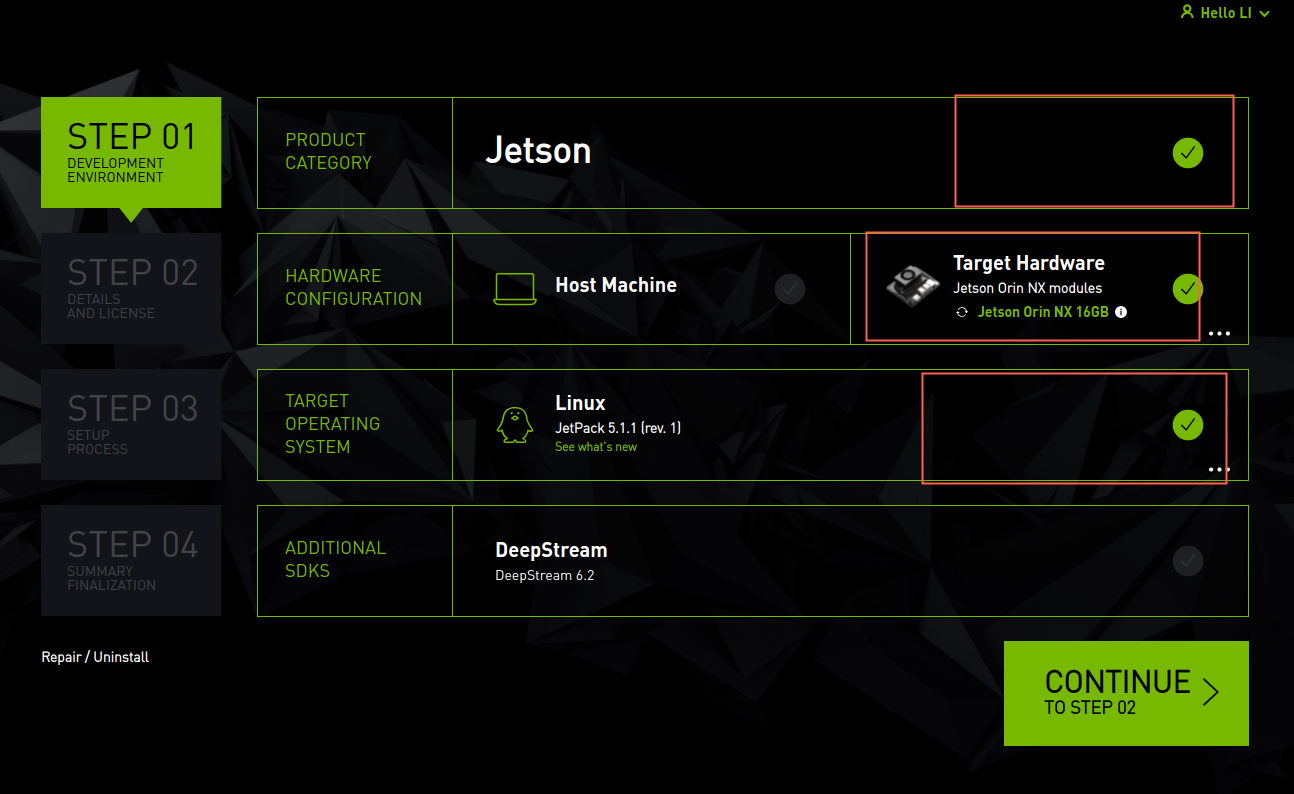
Select the correct module (8GB or 16GB):
6. Select Components
Keep defaults:
- Jetson OS
- Jetson SDK Components
Accept the license and continue.


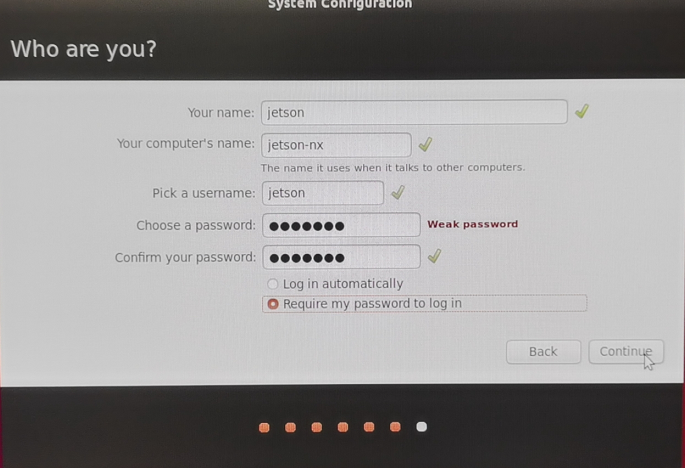
7. Initial System Flashing
After OS flashing, your Jetson will reboot.
Complete initial setup:
- Username
- Password
- Network connection

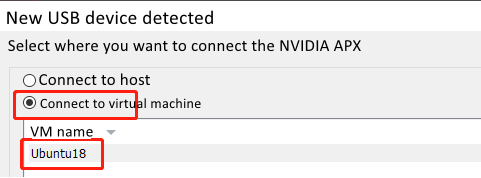
8. Install SDK Components
Reconnect the USB so the VM detects the Jetson again.
Enter the username/password.
Click Install.
When complete:
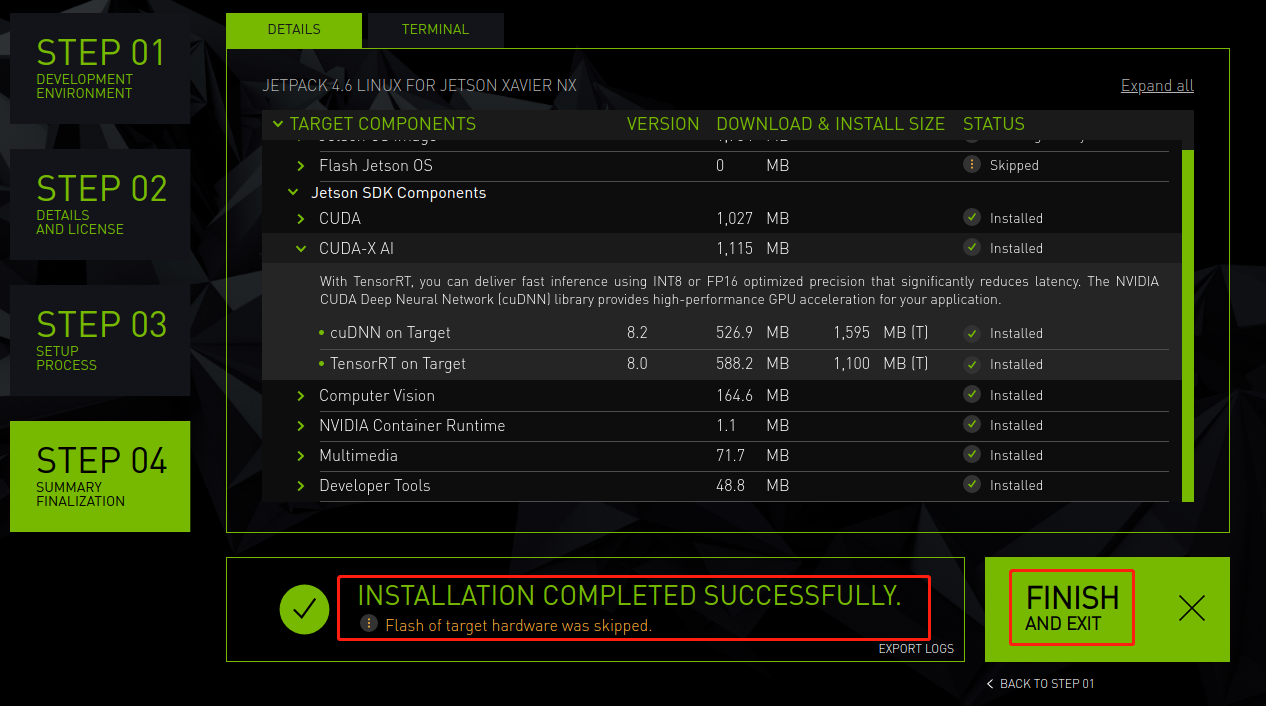
9. Final Step
Remove the jumper from FC REC → GND.